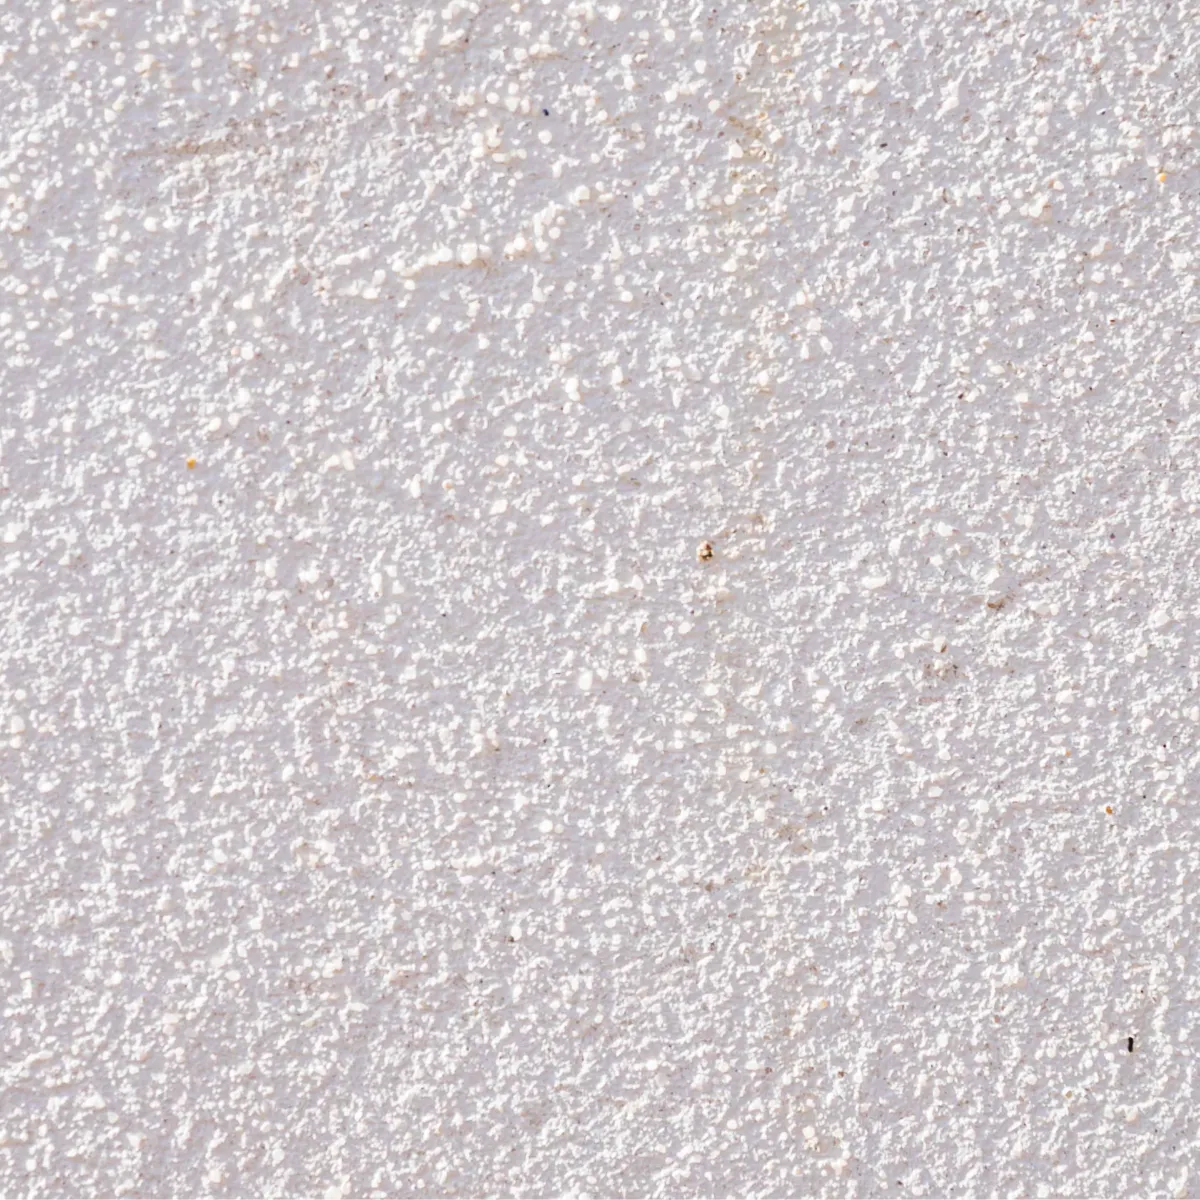
Step-by-Step Popcorn Ceiling Removal Process for Toms River Homes
Introduction
Popcorn ceilings—once popular for their textured look—are now considered outdated. Many Toms River homeowners are choosing to remove them to achieve a modern, smooth finish that brightens their living spaces. But popcorn ceiling removal is more than scraping and repainting. Done improperly, it can create a mess, damage drywall, or even expose hidden hazards.
In this guide, we’ll walk through the step-by-step process behind successful popcorn ceiling removal, highlight key considerations, and explain why professional help ensures a flawless result.
Why Remove a Popcorn Ceiling?
Before diving into the process, it’s helpful to understand why popcorn ceilings are being removed in so many homes:
Modern Appeal: Smooth ceilings create a cleaner, updated look that adds value to your home.
Better Lighting: Textured ceilings cast shadows and absorb light; smooth ceilings reflect more, making rooms brighter.
Easier Maintenance: Dust, cobwebs, and stains stick to textured surfaces. Removal makes cleaning easier.
Potential Health Risks: Older popcorn ceilings may contain asbestos, making safe removal essential.
Removing popcorn ceilings is one of the most impactful upgrades for homeowners looking to refresh their interiors.
The Step-by-Step Process of Popcorn Ceiling Removal
Step 1: Inspection and Testing
Before removal begins, the ceiling should be tested for asbestos if the home was built before the 1980s. This ensures safety and determines the proper method for removal.
Step 2: Preparation and Protection
Preparation is key to minimizing mess and protecting the home. Contractors will:
Cover floors and furniture with plastic sheeting.
Remove or mask lighting fixtures and fans.
Seal vents to prevent dust from spreading.
Step 3: Softening the Texture
A water-based spray is applied to soften the popcorn material. This step makes scraping easier and reduces dust.
Step 4: Scraping the Ceiling
Using wide drywall knives or scrapers, the softened texture is carefully removed. This is often the most time-consuming step and requires precision to avoid gouging the drywall underneath.
Step 5: Repairing the Surface
Once the texture is removed, imperfections, nail holes, or cracks are repaired with joint compound. Sanding smooths the surface in preparation for painting.
Step 6: Priming and Painting
A high-quality primer seals the ceiling, followed by fresh paint to create a smooth, clean finish. Many homeowners choose light, reflective colors to enhance the openness of the room.
FAQs
Is it safe to remove popcorn ceilings myself?
DIY removal is possible but not always safe. If asbestos is present or if you lack experience with drywall repairs, it’s best to hire professionals.
How much does popcorn ceiling removal cost?
Costs vary based on ceiling size, condition, and whether asbestos testing is required. On average, removal costs more than painting but significantly boosts home value.
Can I just cover my popcorn ceiling instead of removing it?
Yes. Some homeowners choose to cover popcorn ceilings with drywall panels or planks, but removal creates a smoother, more natural finish.
How long does the process take?
Most rooms can be completed in 1–2 days, depending on preparation, repairs, and drying times. Larger spaces may take longer.
Will removing a popcorn ceiling increase my home value?
Yes. Updated ceilings create a more modern look and appeal to buyers, making it a worthwhile investment.
Conclusion
Popcorn ceiling removal transforms outdated interiors into sleek, modern spaces. The process involves inspection, preparation, careful scraping, surface repair, and finishing with primer and paint. While DIY options exist, professional services ensure safety, efficiency, and a flawless finish.
For Toms River homeowners, working with an experienced contractor means enjoying the benefits of a brighter, updated home without the hassle or risk. Contact our team today to schedule a free consultation and take the first step toward a smoother, more modern ceiling.