hy Power Washing Is Essential Before Exterior Painting
Introduction
You’ve picked the perfect color for your home’s exterior, hired a contractor, and are ready to start painting. But before that first coat of paint ever touches your siding, there’s one step that can make or break the project: power washing.
In Toms River, where coastal air, humidity, and seasonal weather bring dirt, mildew, and salt deposits, skipping power washing can lead to paint that peels, bubbles, or fails within just a few years. This guide explains why power washing is an essential part of any exterior painting project, how it works, and what homeowners should know before the process begins.
Why Power Washing Matters Before Painting
Painting over dirt or damaged surfaces is like putting a bandage on without cleaning the wound—it won’t last. Power washing ensures your new paint adheres properly and performs as expected.
Here are the biggest reasons it’s so important:
Removes Dirt and Grime: Dust, pollen, salt, and general buildup interfere with paint adhesion.
Eliminates Mold and Mildew: Moisture in coastal New Jersey creates the perfect environment for organic growth. Power washing removes these hazards.
Strips Away Old, Loose Paint: A high-pressure wash can lift flaking or peeling paint, preparing the surface for fresh coats.
Protects Your Investment: Paint is a major expense. Proper prep ensures your paint job lasts 7–10 years instead of failing early.
Reveals Hidden Damage: Power washing often uncovers wood rot, cracks, or holes that should be fixed before painting begins.
The Step-by-Step Power Washing Process
Step 1: Inspection
Before washing, contractors examine siding, trim, and gutters to identify areas needing repair or extra care.
Step 2: Protect Surroundings
Plants, windows, and outdoor fixtures are covered or rinsed to prevent damage.
Step 3: Choose the Right Pressure and Solution
Not all surfaces can handle the same pressure. Vinyl, wood, and stucco require different settings. Biodegradable cleaning solutions may also be applied to tackle mold and mildew.
Step 4: Thorough Cleaning
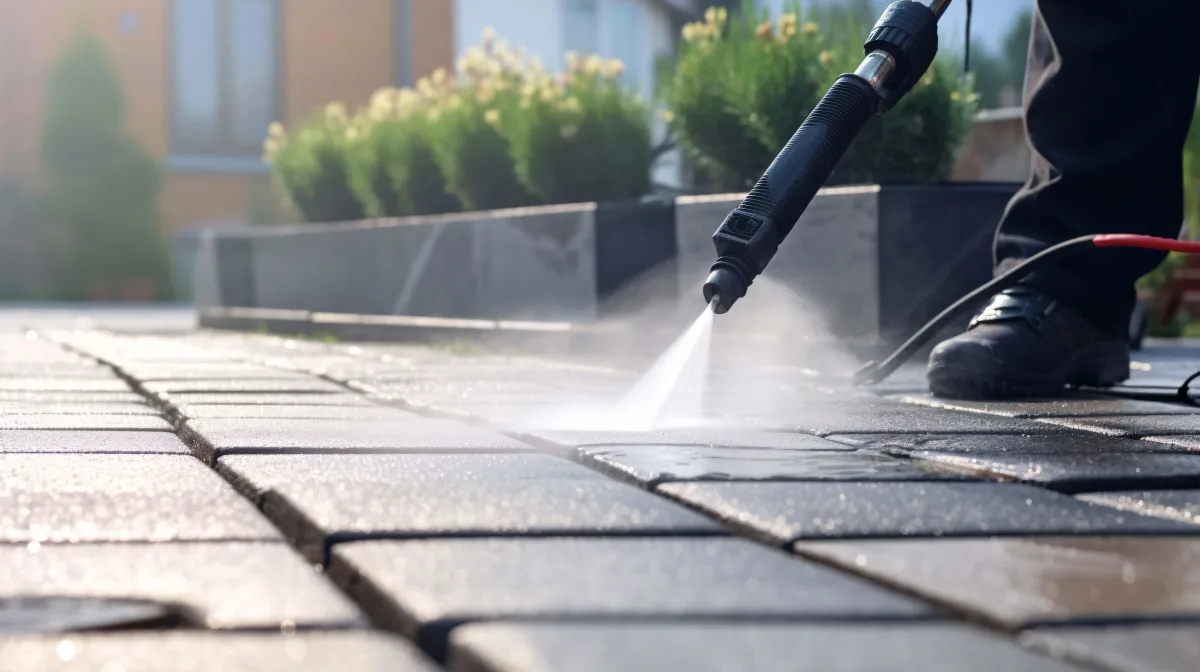
Water under pressure removes dirt, peeling paint, and surface contaminants. Professional techniques ensure even coverage without damaging siding.
Step 5: Drying Time
After washing, surfaces must dry completely—usually 24–48 hours—before primer and paint can be applied. This ensures proper adhesion and a smooth finish.
FAQs
Can I skip power washing if my home looks clean?
No. Even if dirt isn’t visible, microscopic debris, pollen, and oils can prevent paint from bonding properly.
How long after power washing can I paint?
It’s best to wait at least 24–48 hours to let the surface dry fully.
Can I power wash my home myself?
DIY power washing is possible, but professionals know the correct pressure settings and cleaning solutions for different materials. Incorrect washing can damage siding or force water behind walls.
Does power washing remove all old paint?
It removes loose and peeling paint, but scraping or sanding may still be required for stubborn areas.
Is power washing safe for all surfaces?
When done correctly, yes. Professionals adjust settings for materials like wood, vinyl, brick, or stucco to avoid damage.
Conclusion
Power washing is the foundation of a long-lasting exterior paint job. It clears away dirt, mildew, peeling paint, and hidden contaminants, giving your new paint the perfect surface to bond with. Skipping this step often leads to premature paint failure, costing more in the long run.
For homeowners in Toms River, where coastal conditions are tough on exteriors, power washing isn’t optional—it’s essential. Our professional team provides thorough washing and expert preparation to ensure your exterior paint looks beautiful and lasts for years. Contact us today for a free estimate and start your project the right way.